
I was given a project to create a sign blank that looked like a pumpkin. I needed to make several blanks, so I new a template was needed. Messages would be written on the blanks, so the center needed to be somewhat open.
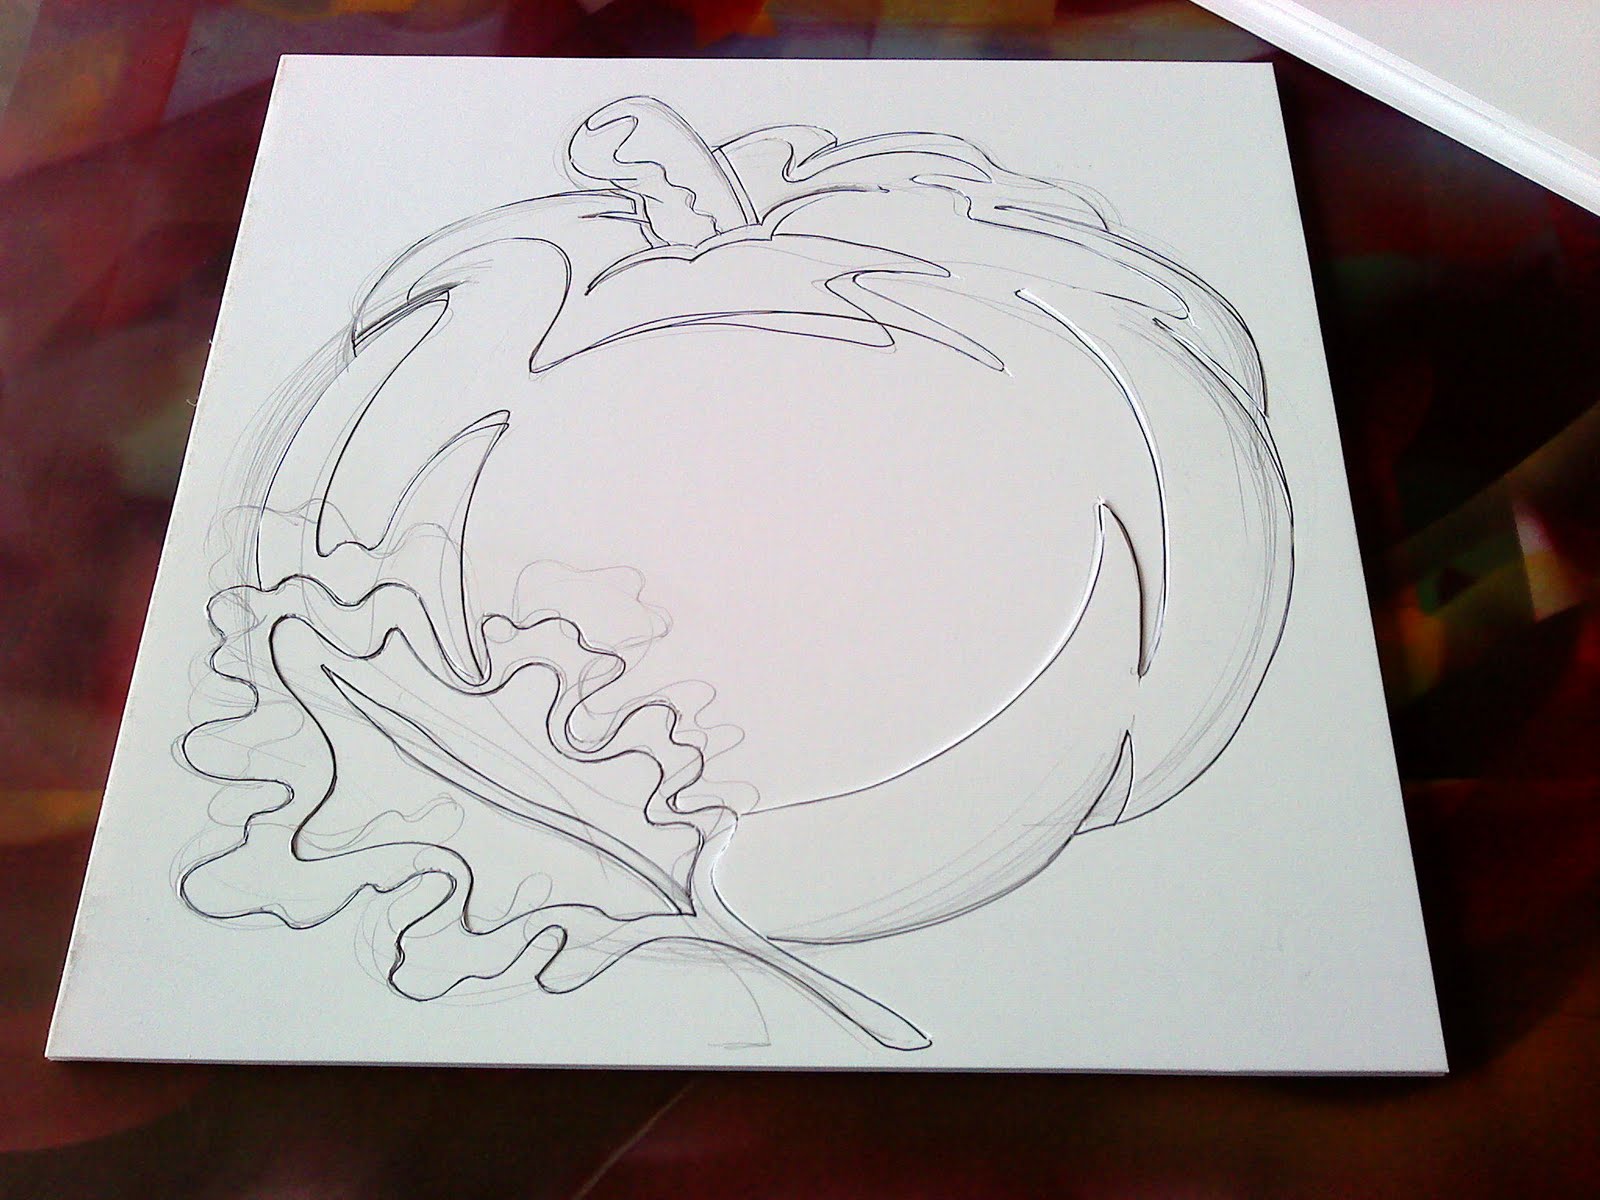 Here is my finished template. I used a pencil to draw and re-draw it until it was right. Then I used a marker to establish the cutting lines. The size is 12" square.
 I cut a blank and sprayed in a deep yellow background color.
 Then I started laying down the template pieces and spraying on more color. First the base colors for the pumpkin stem and leaf were put in.
 Then template pieces were placed...
 ...and secondary colors were sprayed on.
 The finished leaf.
 The finished stem.
Then I covered the finished leaf and stem, pulled off the section that covered the pumpkin and misted on some orange...
 ...I covered the center of the pumpkin with the last section and sprayed the shadow color on the pumpkin.
 ...I covered the center of the pumpkin with the last section and sprayed the shadow color on the pumpkin.
 All the template pieces were then removed to reveal the finished paint job.
 The last step was to outline the design with a black paint marker.
No comments:
Post a Comment